iRobot Roomba Setup
In today’s fast-paced era, buying the iRobot Roomba devices might be the best decision you can ever make for yourself and your family. With its advanced, cutting-edge home automation technologies, this networking device traverses and cleans the floors on its own. However, to make the most of these devices, iRobot Roomba setup is the first step.
Likewise, this guide is designed to make the users aware of the complete procedure to set up Roomba. Because not every user knows the complete procedure to set it up, therefore, in this guide elaborates on how to setup Roomba in different ways. So, let’s dive!
Things you should need for the iRobot Roomba Setup
Whenever you are heading over to initiate the Roomba WiFi setup process, you need to be ready with the following things:

A completely charged Roomba vacuum cleaner

A strong internet connection

Accurate administrative credentials

iRobot app

Computer /laptop /smartphone

Sufficient power supply
Ethernet cable
How to Carry Out the Roomba Setup Through the iRobot HOME App?
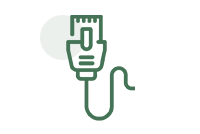
However, having access to the device’s admin panel is the fundamental requirement to configure the device according to your preferences. Therefore, you can use the iRobot HOME app to complete the iRobot Roomba WiFi setup. So, below are the major steps involved in this setup process:s
- First and foremost, power on your networking device and ensure that your device is charged properly.
- Now, download and install the iRobot HOME app on your smartphone.
- If you have one, then update it first from the App or PlayStore.
- Now, open the app and log in to your account using the valid login credentials.
- If using the app for the first time, then create an account first or register with your email.
- After login, visit the smart Home Dashboard of the Roomba vacuum cleaners.
- Then, add your device to the app by tapping on ‘Add Your Product”.
- Now, visit the Settings from the bottom right corner of the screen.
- Further, tap the Set Up a New Robot option and follow the on-screen guidelines to accomplish the setup process.
- Hereon, go to ‘WiFi Settings and then choose the wifi network from the list of all available networks.
- Enter your wifi password, and click on Connect.
- Wait patiently for the robot to connect to the chosen wifi and you see a green wifi icon on the top of the app when it is connected.
- Afterward, click on ‘Clean’ to initiate your device and to check if it is connected to a Wi-Fi network or not.
- At last, you are done with the Roomba vacuum setup process.
Facing issues in the iRobot Roomba Setup? Try These Fixes!
Admittedly, not every user is a master in operating their Roomba vacuum cleaners and often encounters different types of issues. The issues mainly arise due to internet disconnectivity, power outages, incorrect login credentials, outdated app versions, etc. If you are also facing any of these issues during iRobot Roomba vacuum setup, then have a closer look at the below tips:
- First of all, ensure that you have a stable internet connection. You can also use the ethernet cables to stabilize your network or keep the wifi router closer to it.
- Confirm that all the networking devices, Roomba, wifi, etc. are receiving an adequate power supply.
- Double-check the login details before you proceed with the login process.
- Make sure that the iRobot HOME app is updated with the recent version. Clear all the app cache to eradicate any issues.
- Check that your iRobot app has all the necessary permissions enabled.
- Place your wifi router closer to the Roomba vacuum cleaner and check the wifi signal strength.
- If facing frequent network connectivity issues, reposition your router.
- Ensure that the wifi router is placed in a shady and spacious area.
- Confirm that your iRobot Roomba is configured with the 2.4 GHz frequency settings because it doesn’t support the 5 GHz network bandwidth.
- Keep the Roomba vacuum cleaner near the Home base or the dock station.
- Verify the wifi password before connecting the Roomba to the wifi network.
- Make sure all the wall outlets and power adapters are working properly. If facing any issues, then shift to another power outlet.
- Power cycle your networking device to avoid technical glitches and bugs.
- Check and regularly update the iRobot Roomba firmware versions and download the recent files only. Remove the corrupted firmware files from the device.
- If facing consistent network connectivity issues, then consult with your ISP authorities.
- If nothing else works, reset your iRobot Roomba to bring the device to its factory settings. For the complete reset proces, visit us!
How to Start A New Mopping Job on iRobot Roomba?
Generally, a new vacuum or mopping job can be initiated and accomplished flexibly using the iRobot app. Adding the Roomba robotic cleaner to the app lets the users access and have full control over their devices. Likewise, this section tells you the effective steps to start a new mopping job, as described below:
- Initially, ensure that your iRobot Roomba is powered on and charged properly.
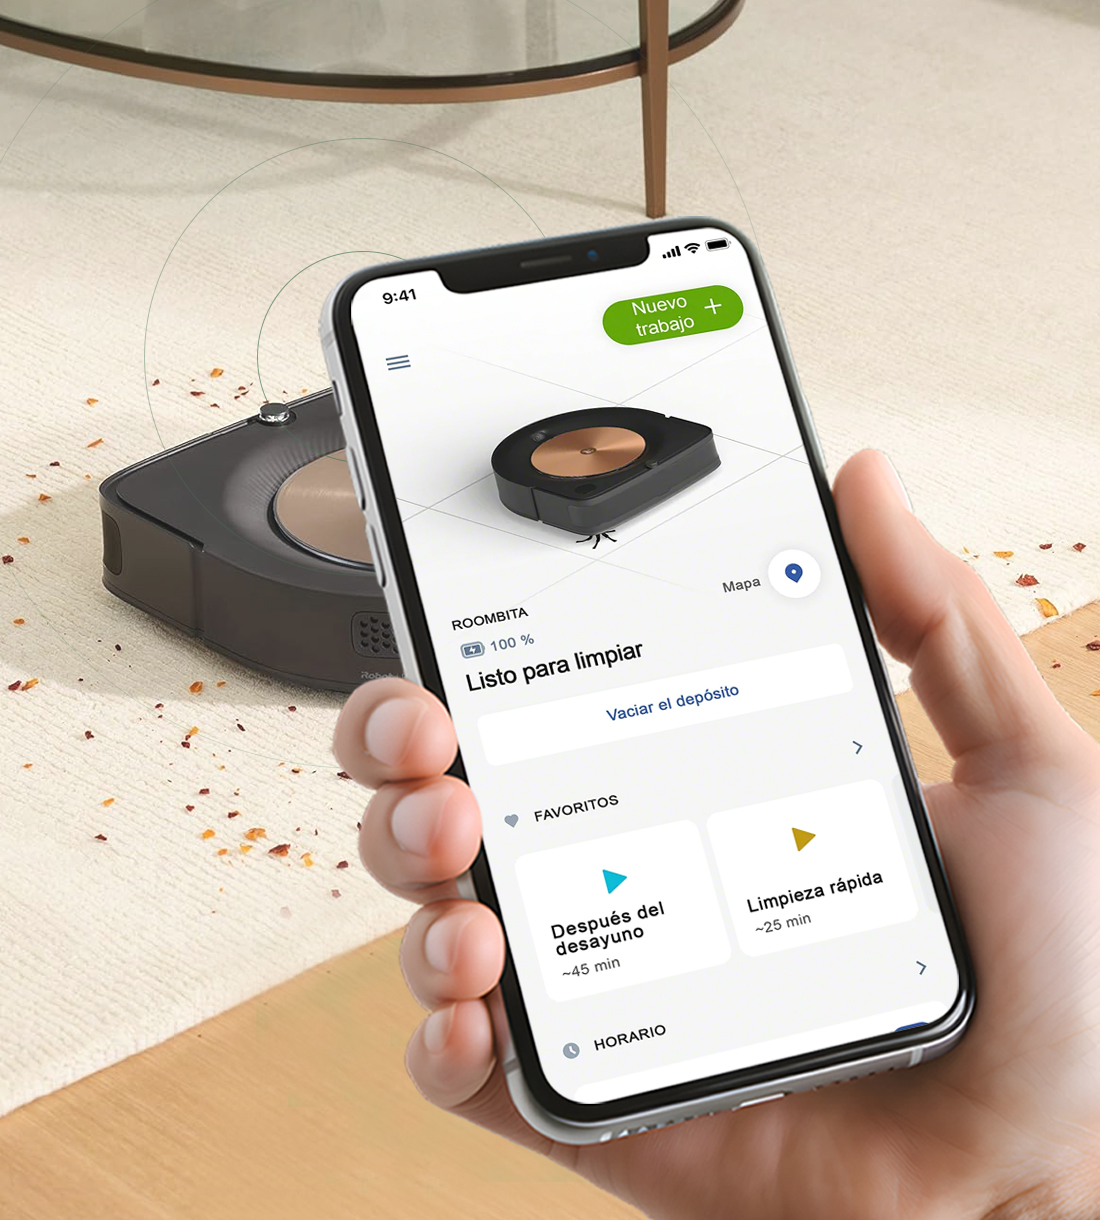
- Then, locate the ‘CLEAN’ button at the top of the robot and then press it once to wake the robot.
- Now, press it twice to initiate a new job and send the robot everywhere it can reach.
- Thus, your robot starts cleaning and accomplishes its job flexibly.
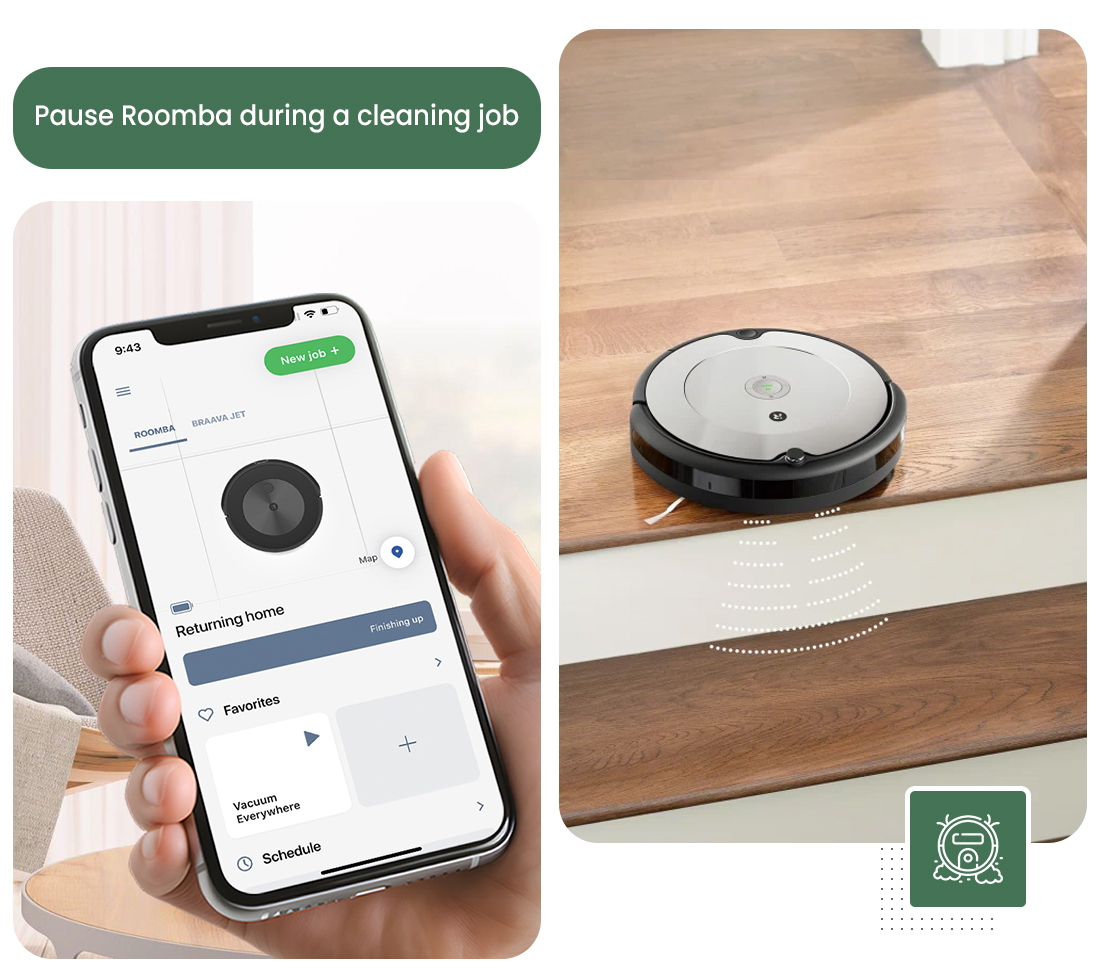
How to Pause Roomba During a Cleaning Job?
As defined previously, you can easily start a new cleaning job using the Roomba. However, you can also control and pause the Roomba during a cleaning job, whenever required. In a similar vein, this section gives you insights regarding the effective steps to pause a clearing job on iRobot Roomba. Look beneath for the detailed steps:
- Initially, find the CLEAN button on the robot itself.
- Otherwise, log into your iRobot Home app using the valid credentials.
- Then, open the app and visit the smart Home Dashboard of the Roomba.
- From the main menu, press the Pause button>Send Home to send your robot to the Home base.
- Now, follow the on-screen instructions to end/pause the cleaning job.
Note: If the battery drains before completing the current cleaning job, then your Robot will automatically return to the Home Base to recharge when you press the CLEAN.
Overall, this guide sheds light on the complete iRobot Roomba Setup process. If you wanna explore more, stay connected with us!
Frequently Asked Questions
How to power cycle your Roomba vacuum cleaner?
To power cycle or reboot your device, unplug it from the power supply first. Then, wait for around 30 seconds till your networking device completes rebooting. Now, plug back all the devices to the power sources as removed.
What LED indicator represents the cleaning process is in progress?
When you see a periodic white sweep while cleaning, it indicates the cleaning process is in progress.
Can you schedule your cleaning routines using the iRobot Roomba?
Yes, iRobot Roomba lets the users to set a proper cleaning schedule and timing based on an automation.
Do I need a computer to log into iRobot Roomba?
No, you do not need a computer to log into iRobot Roomba, because it can be accessed through the iRobot app, which is compatible with Android or iOS-based smartphones.